Mini Projects
Smaller builds exploring electronics, interactive hardware, and energy systems
Inspired by the Chrome dinosaur game, this project uses physical jumping to control a character on an 8×8 LED display. A laptop webcam detects the player’s jumps and sends commands over a serial connection to an Arduino, which runs the game. Players time their jumps to clear approaching obstacles and gaps in the floor.
The Python application uses OpenCV and MediaPipe Pose to track the player’s hips relative to a standing-height baseline. It smooths the measurements and checks both upward displacement and velocity to recognize a jump. Landing detection and a brief cooldown help prevent repeated triggers from one movement. A skeleton overlay on the webcam feed makes the body tracking visible during play.
The Arduino translates each jump command into an ascent-and-descent animation for the two-pixel character. It generates different obstacle types, checks for collisions, and displays an expanding burst animation when the player loses. The 64 LEDs are controlled through row multiplexing: rapidly activating one row at a time creates the appearance of a continuously illuminated image, while slower game updates move the character and obstacles.
Jump-Controlled LED Dinosaur Game
LED Flower Pot
My first embedded systems project was an illuminated flower pot I designed and built as a gift. It combined custom acrylic flowers with programmable RGB lighting. I designed the pot in Fusion 360 and 3D printed it, then created laser-cut acrylic flower shapes illuminated by three RGB LEDs.
An Arduino Nano controls the lighting, using pulse-width modulation to vary the red, green, and blue channels and produce different colors and animated patterns. An exterior pushbutton lets the user cycle through lighting modes, ranging from gradual color transitions to more active effects.

The project introduced me to connecting microcontroller code with physical hardware and integrating electronics into a custom enclosure. Designing the pot alongside the circuit meant considering space for the components and access to the button. The finished assembly was a little messy, but I like to think the idea was better organized than the hardware.
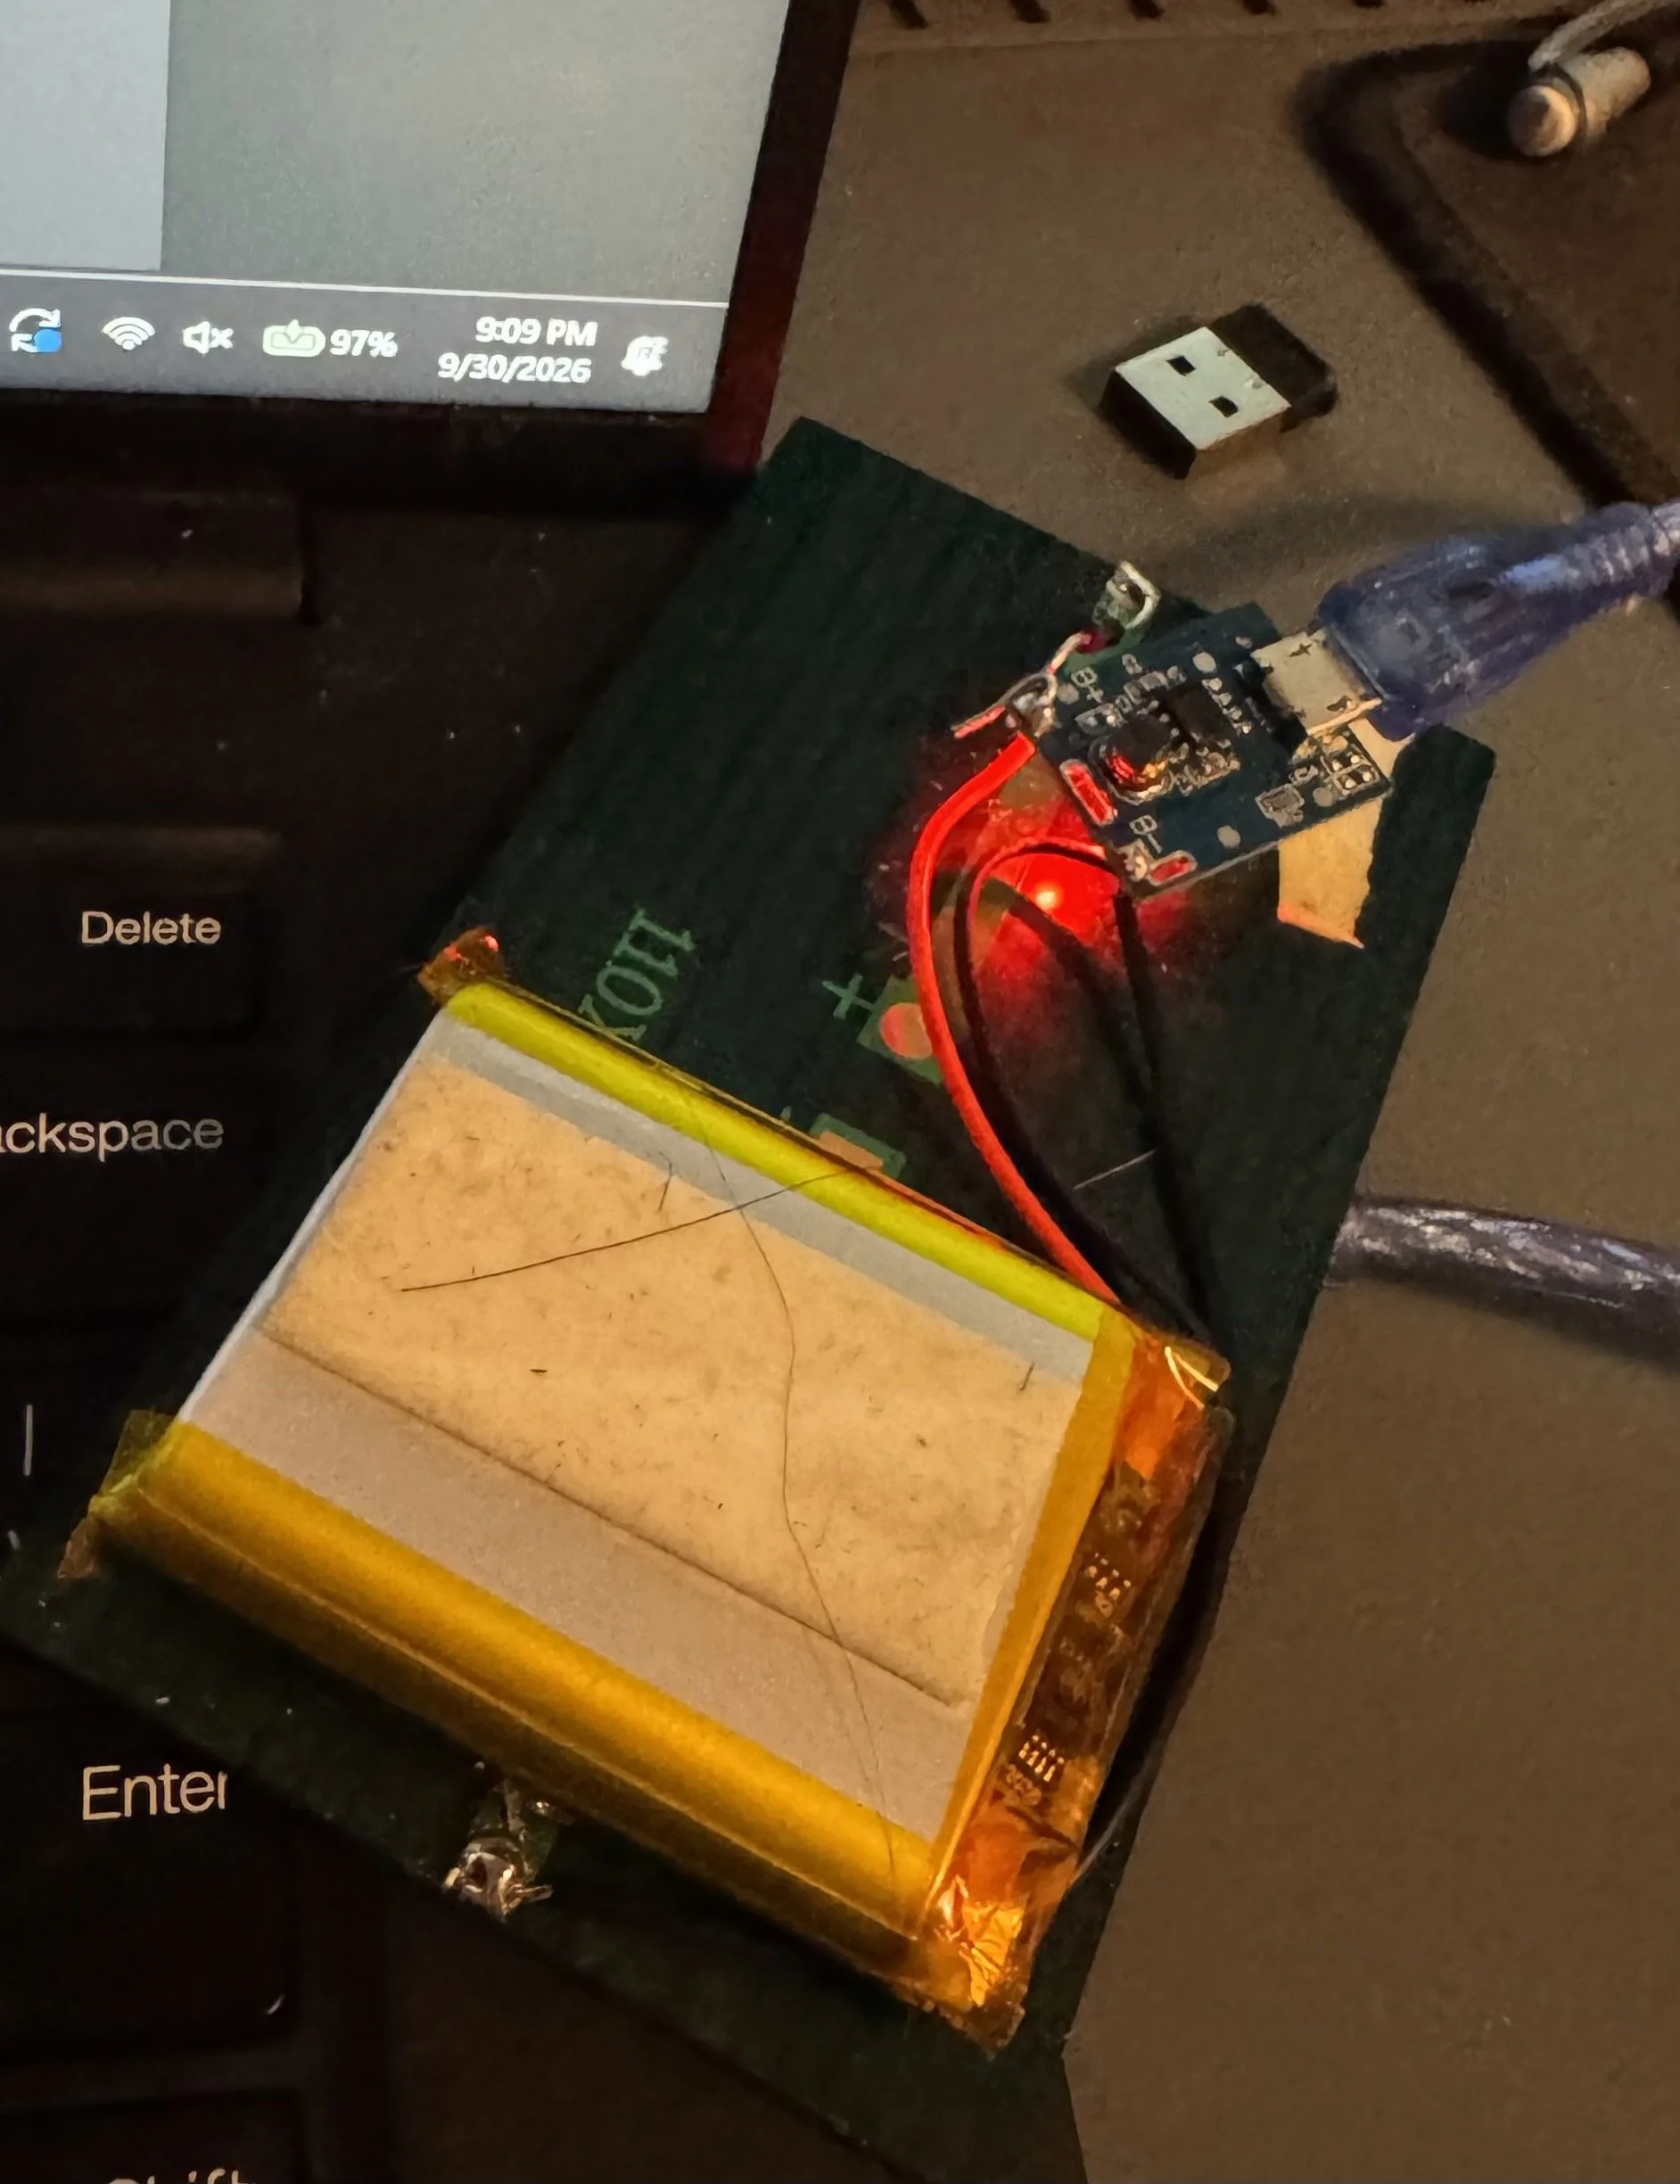
I built this solar-powered phone charger to explore how energy from a solar cell can be collected and stored for later use. The system combines a solar panel with a rechargeable battery, allowing collected energy to be used for phone charging beyond the time the panel is exposed to light.
The assembly places the battery and charging electronics behind the panel. Soldered connections link the components, while the charging board includes a USB connection and an LED status indicator. This arrangement keeps the energy collection and storage hardware together in a compact prototype.
The project introduced me to integrating a renewable energy source with battery charging hardware. It also provided hands-on experience assembling and packaging a circuit, with the solar panel serving as both the energy source and the physical base for the build.